制作你的第一个场景吧
在本教程中,我们将向你演示如何搭建一个最基本的场景。首先你得确保读过《添加章节和场景》 ,这样你才能明白怎末创建章节和场景!对于本次教程,我们将使用默认的样例项目。
当你第一次打开Visual Novel Maker, 你就会注意到这块的命令面板:
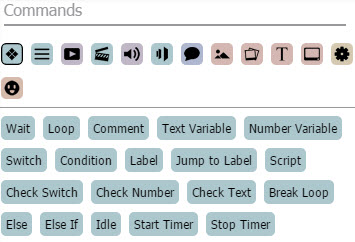
如果想要查看这些命令,按下这些小图标之后,你就能看到命令列表了。添加命令有很多方法。比如,如果我们想在场景中添加一个开关(Switch), 点击  Basic命令 -- 如果你默认不在该部分的话if you are not in that section by default。你也可以通过单击,拖拽或者在场景内容(Scene Content)中输入所需的命令,来添加开关命令。
现在我们知道了如何添加命令,那么让我们开始第一个场景吧!请记住,你在添加命令时可以通过实时预览来测试场景。
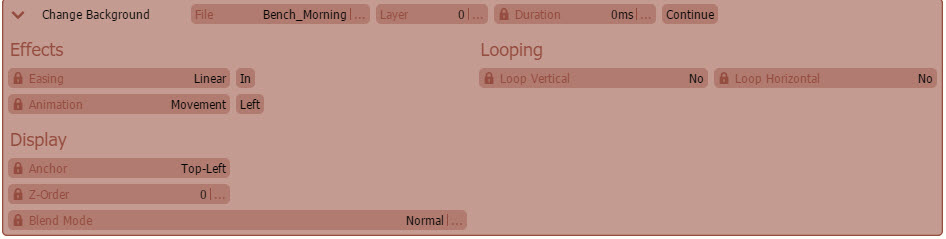
添加背景
 Background命令。
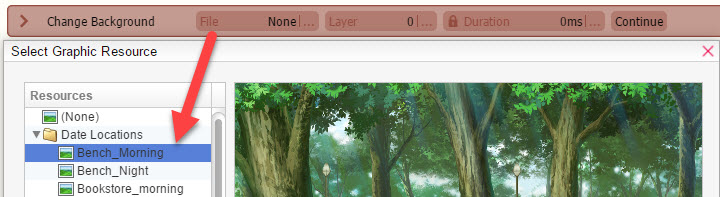

添加背景音乐
 Audio Playback命令。
在场景中添加一个章节
 章节(Character)命令。

添加对话
 Message命令。
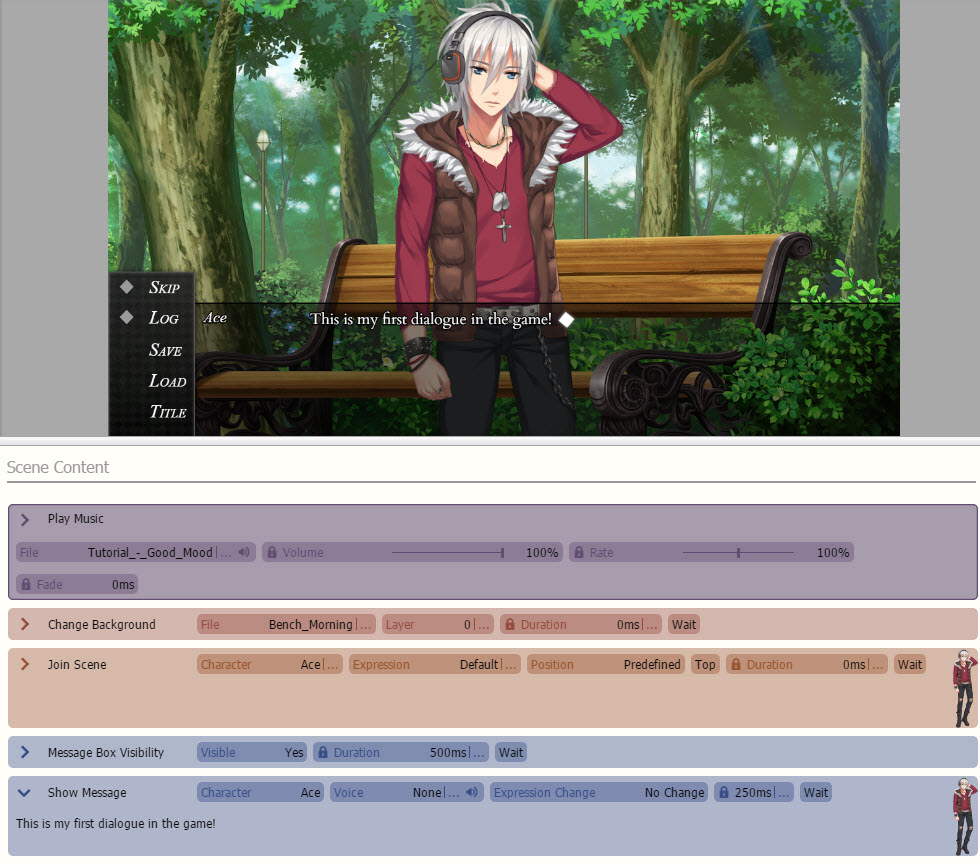
If you did the steps above correctly, the scene should look similar to this:
Testing your Scene!
Now that you are done with your First Scene, it's time to Playtest!
 Save and press the
Note:
You can change the Intro and Start Scene on ![]() Database ->
Database -> ![]() System Tab.
System Tab.
Congratulations you just created your first Scene!